Photos posted to myrmecos.net rarely go straight from the camera to the web. Through some combination of errors related to exposure and the innate properties of digital sensors, raw images can be a surprisingly poor match to what is seen through the viewfinder. Raw images are often relatively flat in appearance, with colors that are shifted or off-hue. For instance, Canon cameras by default impart a warm reddish hue to their files that is especially apparent in macrophotography. The nice thing about raw files, and indeed the main reason for using them, is that they are malleable enough to allow a wide latitude of corrections.
How much do I alter the raw images? You can see for yourself. Here I've posted a series of before/after comparisons (raw and uncropped above, processed below). Click on each to enlarge.


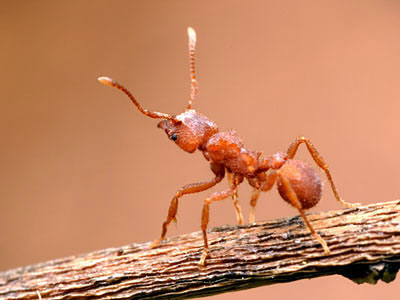
If an original image is within reasonable boundaries of exposure and composition, and it was taken using the camera's raw settings (not jpeg!), they can be adjusted to more closely match what I remember seeing in the viewfinder. Below is an example.
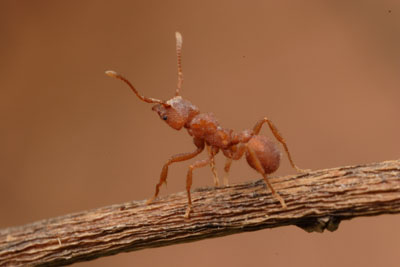
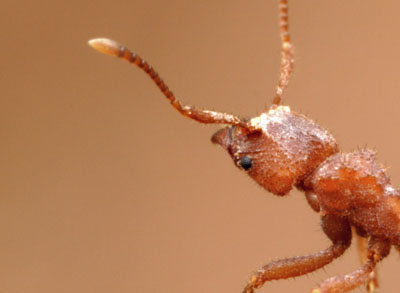
Here is the raw camera image of the new species Trachymyrmex pomonae that I featured earlier this week, viewed in Canon's raw conversion software Digital Photo Professional (DPP). Several details to note. The photo is underexposed (that is, the image is a bit dark), the colors are redder than in life, and there are a few dust specks on the sensor marring the image.
In DPP, I correct the color balance to remove excess reds and yellows:
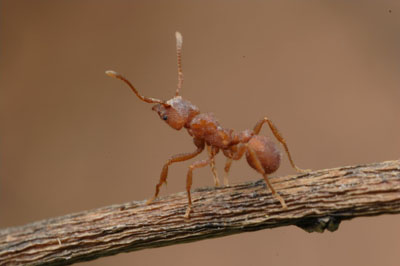
Still in DPP I correct one of my mistakes, the underexposure, by bringing up brightness and contrast:
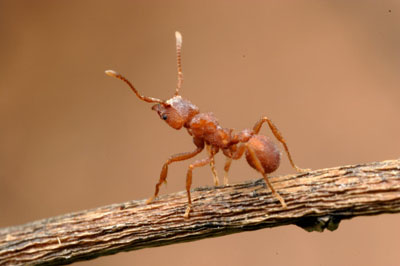
With the levels adjusted, I'm through with DPP and can transfer the image as a TIF file to Adobe Photoshop for subsequent editing.
The first and most time-consuming task for Photoshop is removing artifacts from sensor dust. These are marks from the ubiquitous dust that clings to the electrically-charged image sensor in the camera. These can be dealt with using Photoshop's clone stamp or spot removal tools. Here is an enlargement at the center of the frame showing sensor dust before and after removal:

Dust specks removed, I re-evaluate the levels and add a bit more contrast:
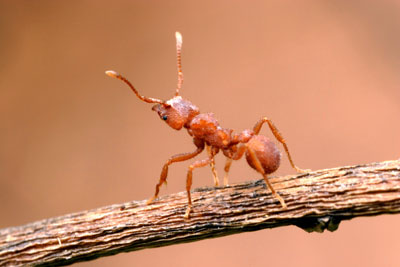
To better emphasize the subject, I crop the image slightly:
Here is the above crop after trimming the grey area:
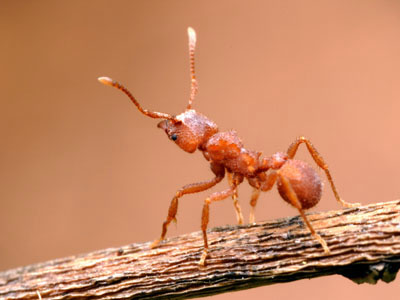
Finally, I apply a small amount of unsharp mask (radius 1 pixel, about 60%). This corrects for the softness of a small-aperture image. The final image is stored both as a tif file and as a high-resolution jpg:
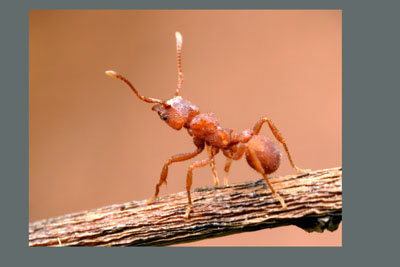
For comparison, below is the before and after, showing an overview on the left and the 100% crop of the same image on the right.

Thanks a lot Alex for this post. Is the first part on DPP can be done also with Photoshop?
Happy New Year
Benoit
Hi Benoit. If you've got one of the newer versions of Photoshop that reads Canon RAW files, then you should be able to do all the relevant levels adjustments in Photoshop. I find Adobe's RAW interface to be a bit awkward, which is why I use DPP (distributed free with Canon dSLRs) or Phase One's Capture One (commercial software).
Nice !
Thanks for your explanations !
I didn't think that there was a so big difference between JPEG and RAW at the level of quality.
Hi Alex,
I have a small question :
Which version of Photoshop do you use?
Greetings from Germany
Sebastian Kessler
Hello Sebastian. I use CS2, although most (if not all) of what I do is also possible in photoshop elements.
I'm curious. Do you ever utilize focus stacking to increase your deapth of field?
--Jay
Jay-
I've only done that with preserved specimens (such as those seen at antweb.org). Most of the insects I photograph are far too active for focus-stacking, as that technique requires a relatively immobile subject.
For focal depth I generally use small apertures and an off-camera flash.
i appreciate the information your provided. Thanx for sharing photo technique.